October 7, 2006
A fine temper
Firehand is a blacksmith and gunsmith living in Oklahoma. His blog Irons in the Fire is a daily read for me. Today, he talks about tempering a knife blade. I am learning blacksmithing and metallurgy and it's interesting that many people know about "tempering" but few know what is actually involved. Here is a good explanation with pictures:HardeningCheck out the links to the first two posts. Blade making is a lot of fun -- as simple or as complex as you want it to be and the results are a very personal tool that will serve you for a long long time. Posted by DaveH at October 7, 2006 9:49 PM
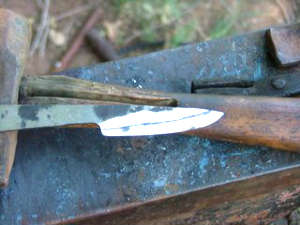
Having finally made time to do this, I'm going to harden the blade that was forged here and ground here.
Here's the blade, and that line drawn in is important. Generally, I want to bring it up to critical heat in that range back from the edge, not much farther.
That means that section will be at full hardness, with the area further back tougher to support the hard section. Not a big factor with a small blade like this, and you can harden the entire blade. It is how I prefer to do it on all but smaller blades.
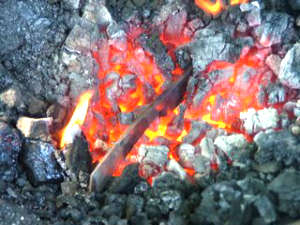
I lit the forge, and made three of the roasting forks while it burned clean and larger, so I had a clean fire with all the coal that will be on/around the steel coked. I also got a small pot I keep for this and filled it with quenching oil. Before I started on the blade I took a piece of steel and brought it up to a bright red, then quenched it to heat the oil; warm oil(around 100F) flows better and gives a more even quench. When it was ready, the blade went into the fire.
Note that it goes in roughly horizontal and with a very low air flow at first to let it soak up heat. Depending on how thick and/or wide a piece is, you may only need the low air blast. The big factor on even heat is to make sure the fire is large enough to bring the whole blade up to temp.
Comments
Post a comment